- Get link
- X
- Other Apps
The two angled cuts allow the entire unit to rest against the wall and the floor nice and flat-like rather than on a the sharp corner of an uncut 24. If your shelves are close to the same width as mine or longer you will need to cut at least one more 11 piece of the 1 x 2 furring strip for additional supports in the middle of the shelf.
 Diy Wall Unit Diy Wall Unit Diy Wall Shelves Diy Furniture
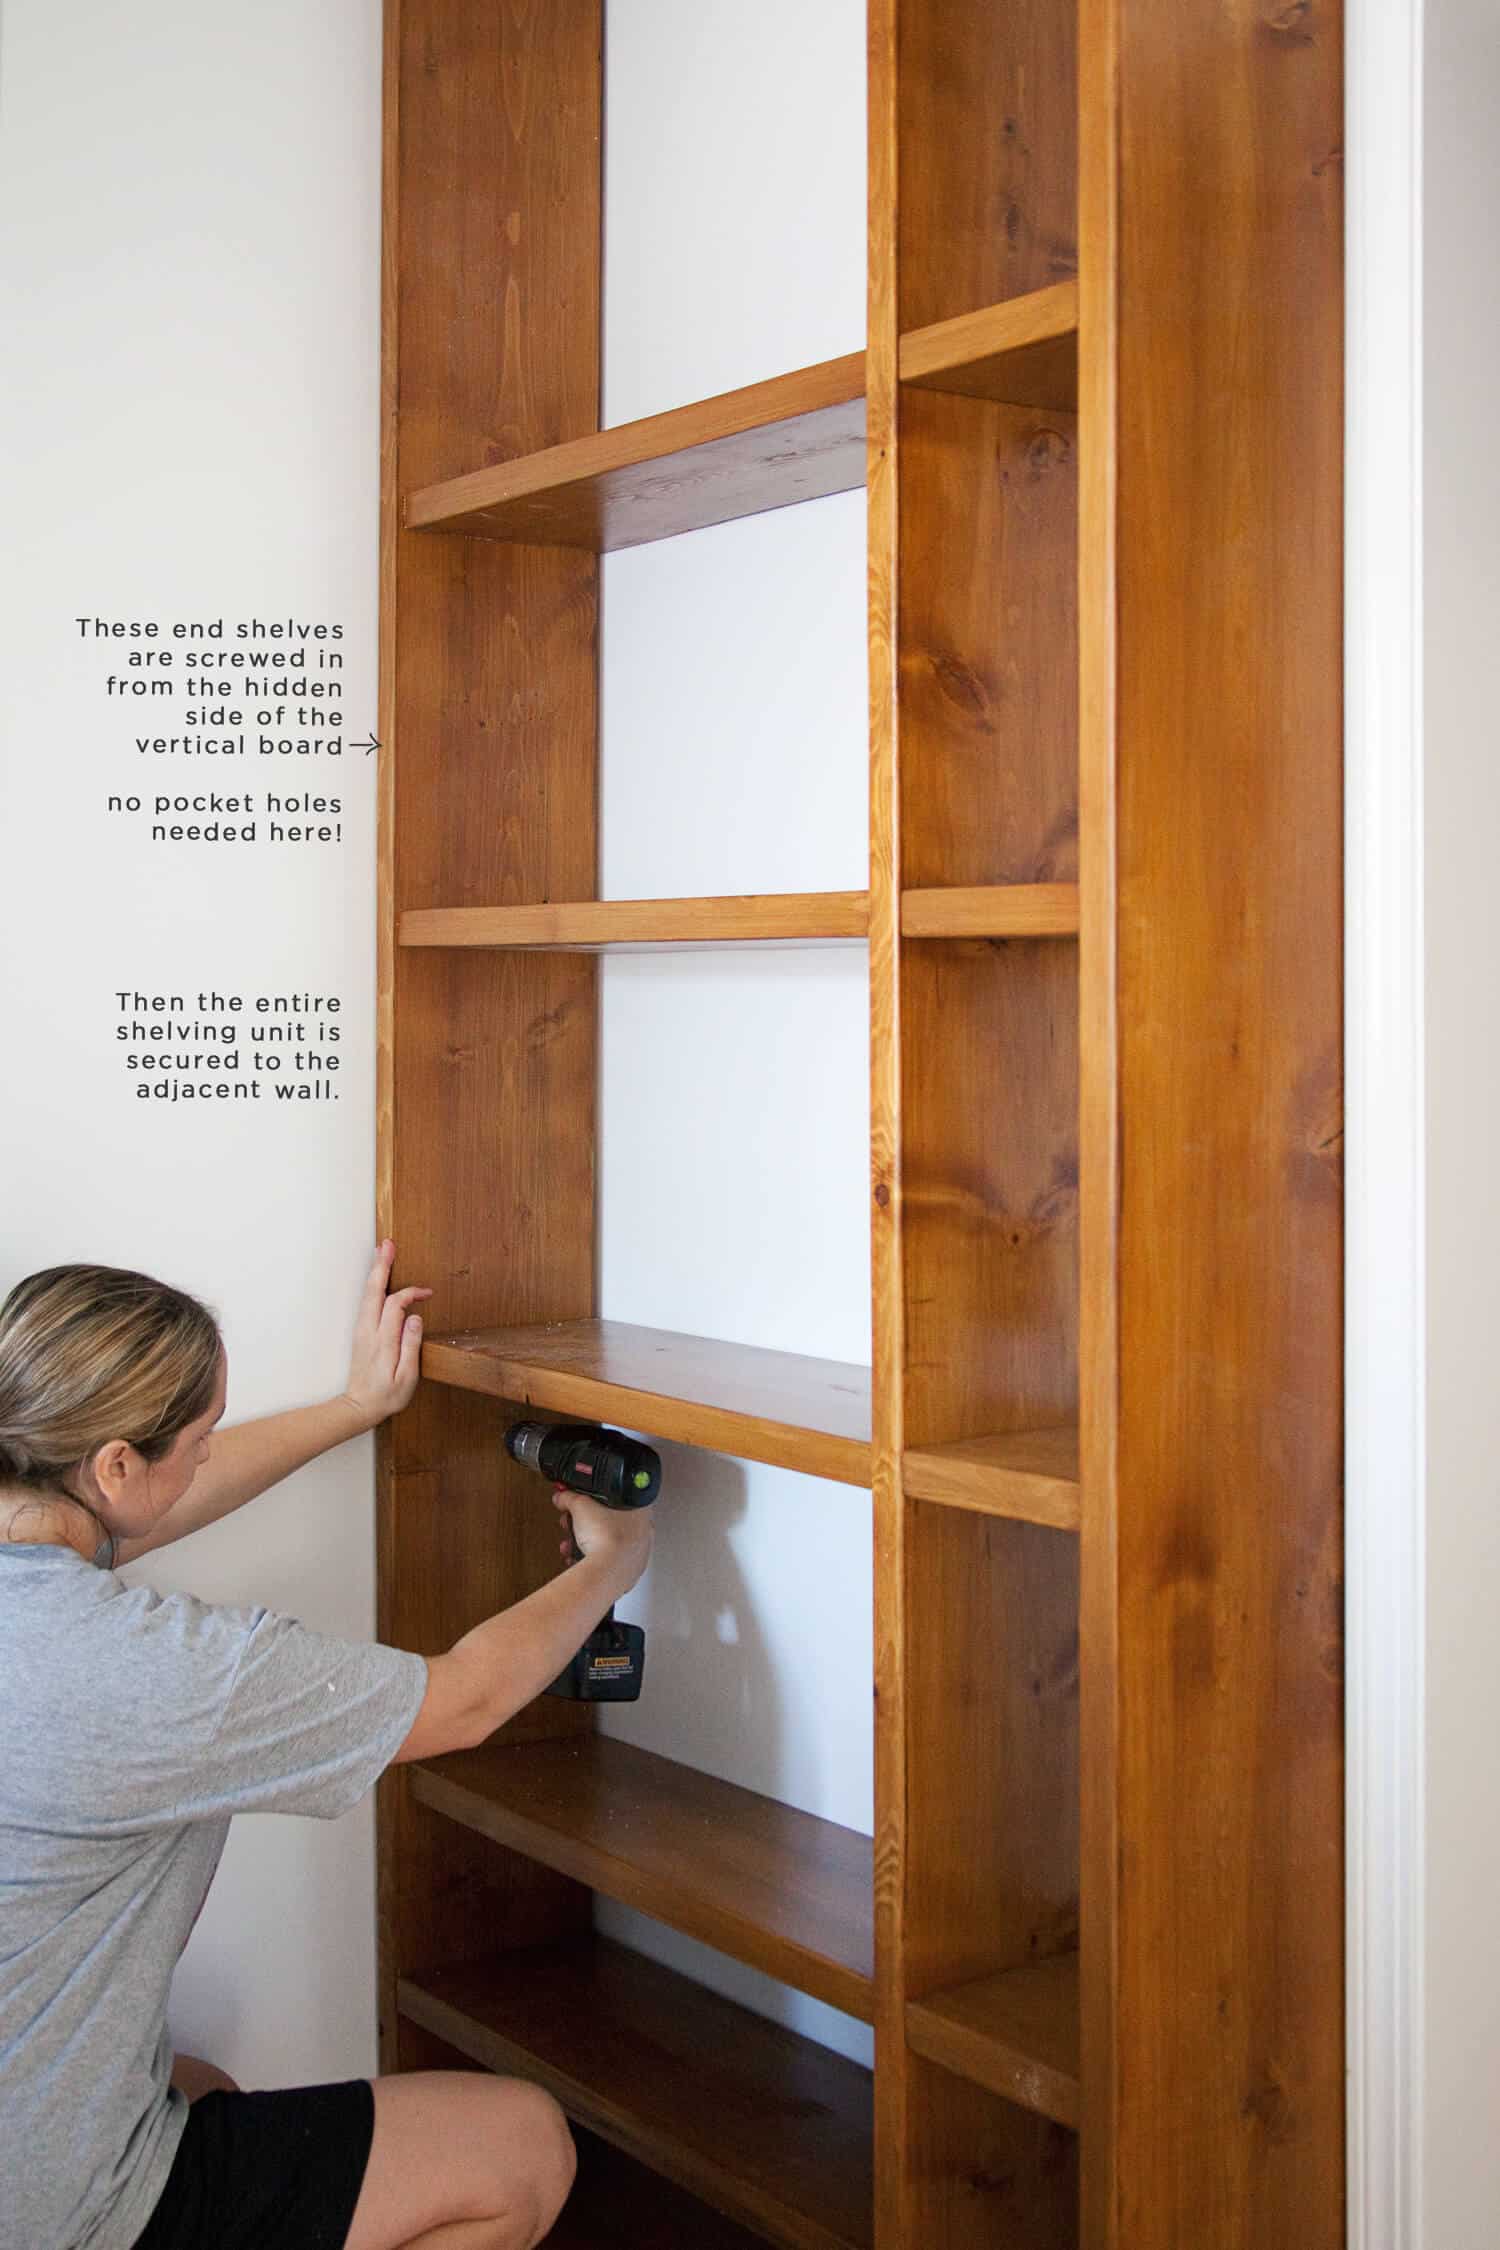
Starting with the shortest shelf which is 30 high and 2 wide lay down the two side pieces and use a framing square to mark each piece of wood Images 1 and 2.
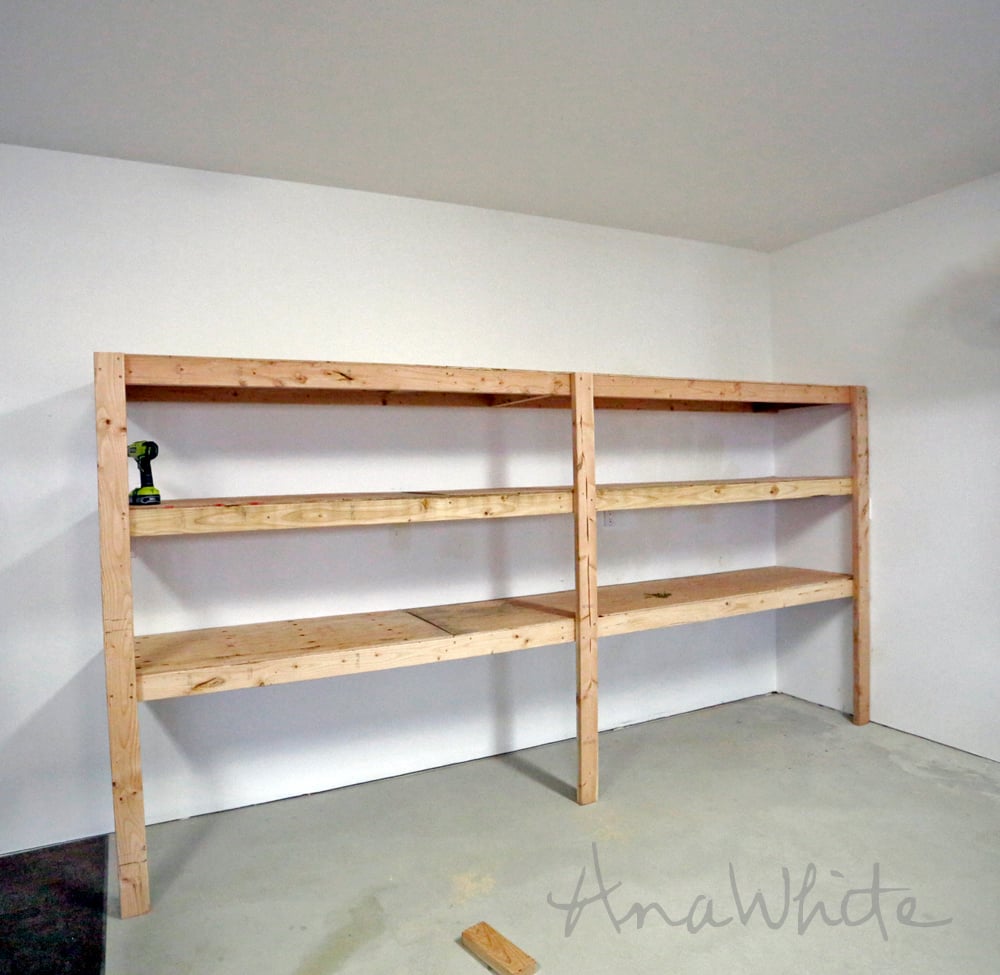
Building a wall shelf unit. Since the first unit will be 30 high and we want to the shelves to be evenly spaced mark every 10 for a shelf. Ill admit that a bit of care needs to be taken when cutting the angles since you need them to rest flat on the wall and the floor respectively while at the same time keeping the shelves level. Youll gain additional space for vases plants mirrors frames etc and.
Apply a dye or stain to your wood. After reading a lot about how to get pine to look its best I decided to use a wood dye rather than stain. For the shelving portion of the wall unit youre simply constructing a pair of rectangular boxes.
For two shelves you need 4 pipes 4 caps 4 galvanized floor flanges a piece of wood cut intwo two equal shelves sandpaper wood stain flat black spray paint 4 two-hole straps dark screws and 16 wall anchors. Attach the bottom and top pieces by driving 6d finishing nails through the side panels into the end grain of the top and bottom. The first step in building homemade wall shelves is to cut the 1-in.
They will be used to. If individual shelves feel too messy and cluttered for your walls DIY pegboards. To make them first attach the top piece to two side pieces with glue and 2-inch screws.
For each shelf you are building cut at least two 11 pieces of the 1 x 2 furring strip. Replace the baseboards around the bottom of the built-in shelves. Attach nailers to the top and bottom of the back of the unit.
Band and the cove moldings extra long. Build Individual Wood Cabinets or Open Shelves between Existing Wall Studs as Custom Recessed Shelving Simplify building recessed wooden wall shelves by constructing custom shelving that fits in the spaces between existing wall studs without requiring stud removal. Grab your measuring tape stud finder and pencil.
Wood dye is accepted more evenly by the pine whereas stain is absorbed differently across the length of. Only the position of the top holes on each side have to be marked once they are drilled a pin goes into those holes through the top hole in the stepping block and the next hole is drilled. Sure you can buy a shelf similar to this one at a discount store but you wont be able to choose the size or finish.
Fit the miter on one end then mark the opposite end for cutting. This jig allows for evenly spaced shelf holes if they have to be drilled with a hand drill in a pre-assembled unit.
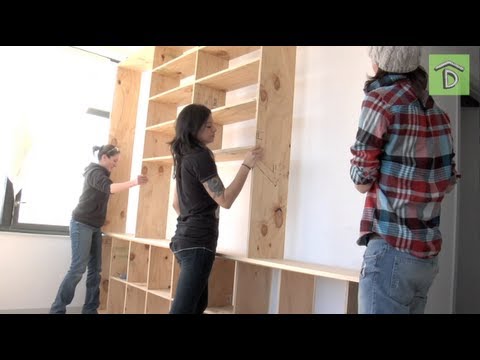 Diy Shelving Unit With Allison Oropallo No Man S Land Youtube
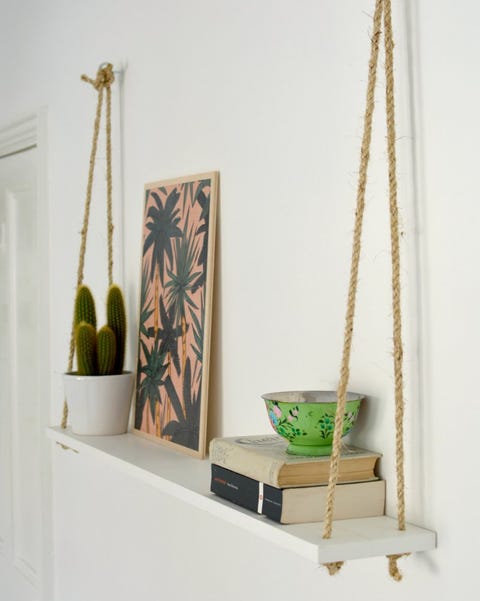
One Room Challenge Week 4 Diy Wall Shelving Bar Wall Place Of My Taste
 Repisas Diy Bookshelf Plans Bookshelves Diy Shelving
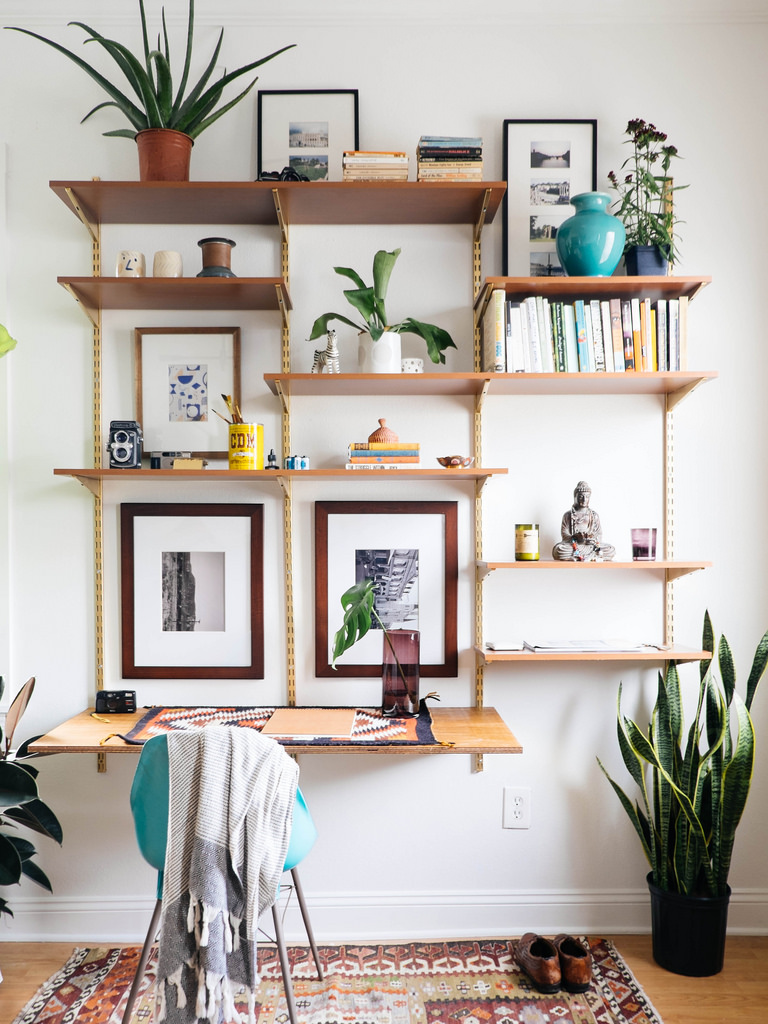
 Diy Mid Century Desk Wall Unit Old Brand New
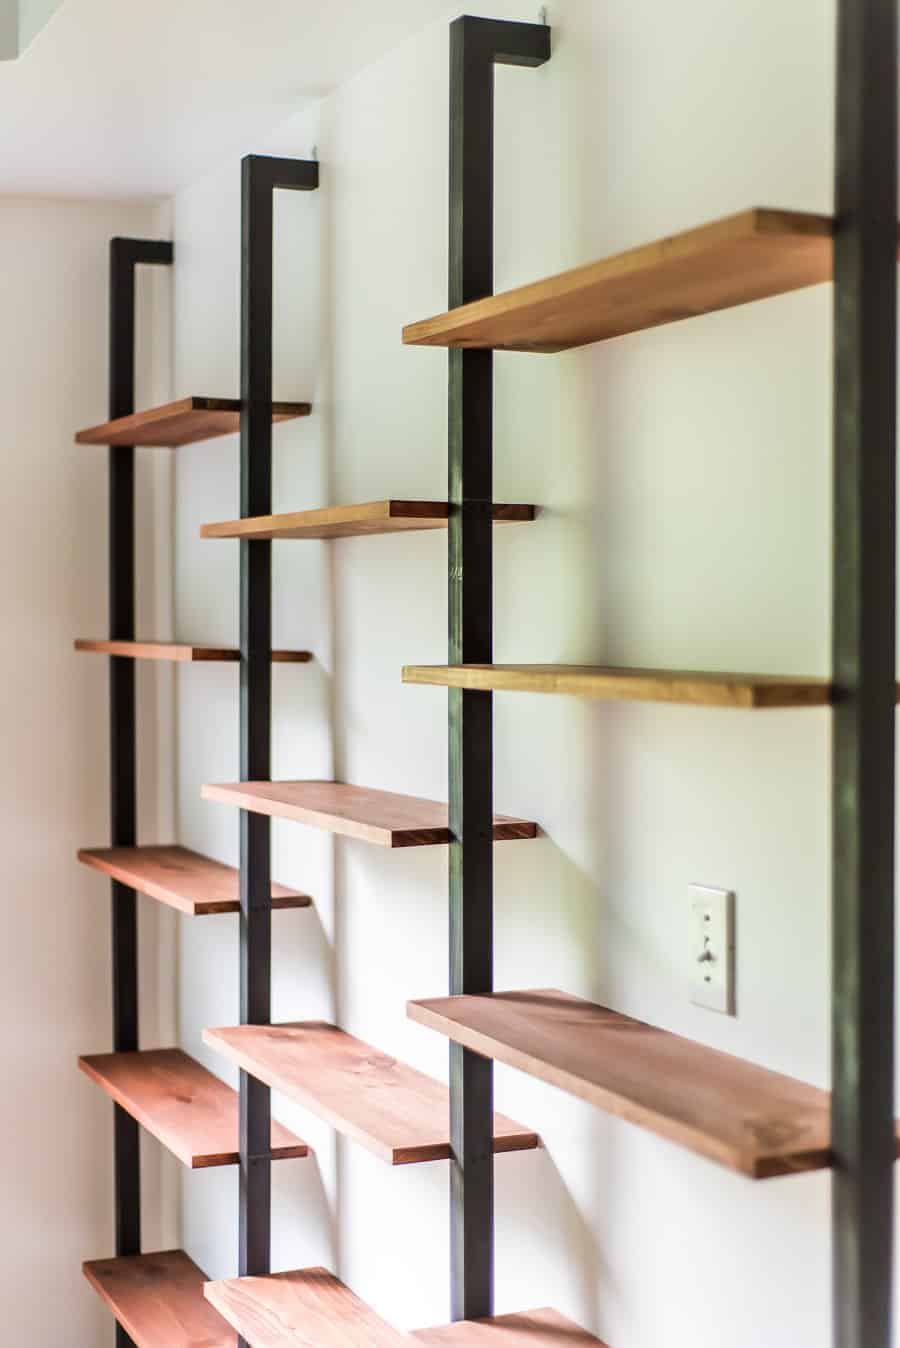
 How To Make A Modern Industrial Diy Mounted Shelving Unit Bookshelves Diy Shelving Home Decor
 Remodelaholic 20 Incredible Diy Shelving Units
 28 Epic Diy Shelves For Any Home Decor Style The Diy Nuts
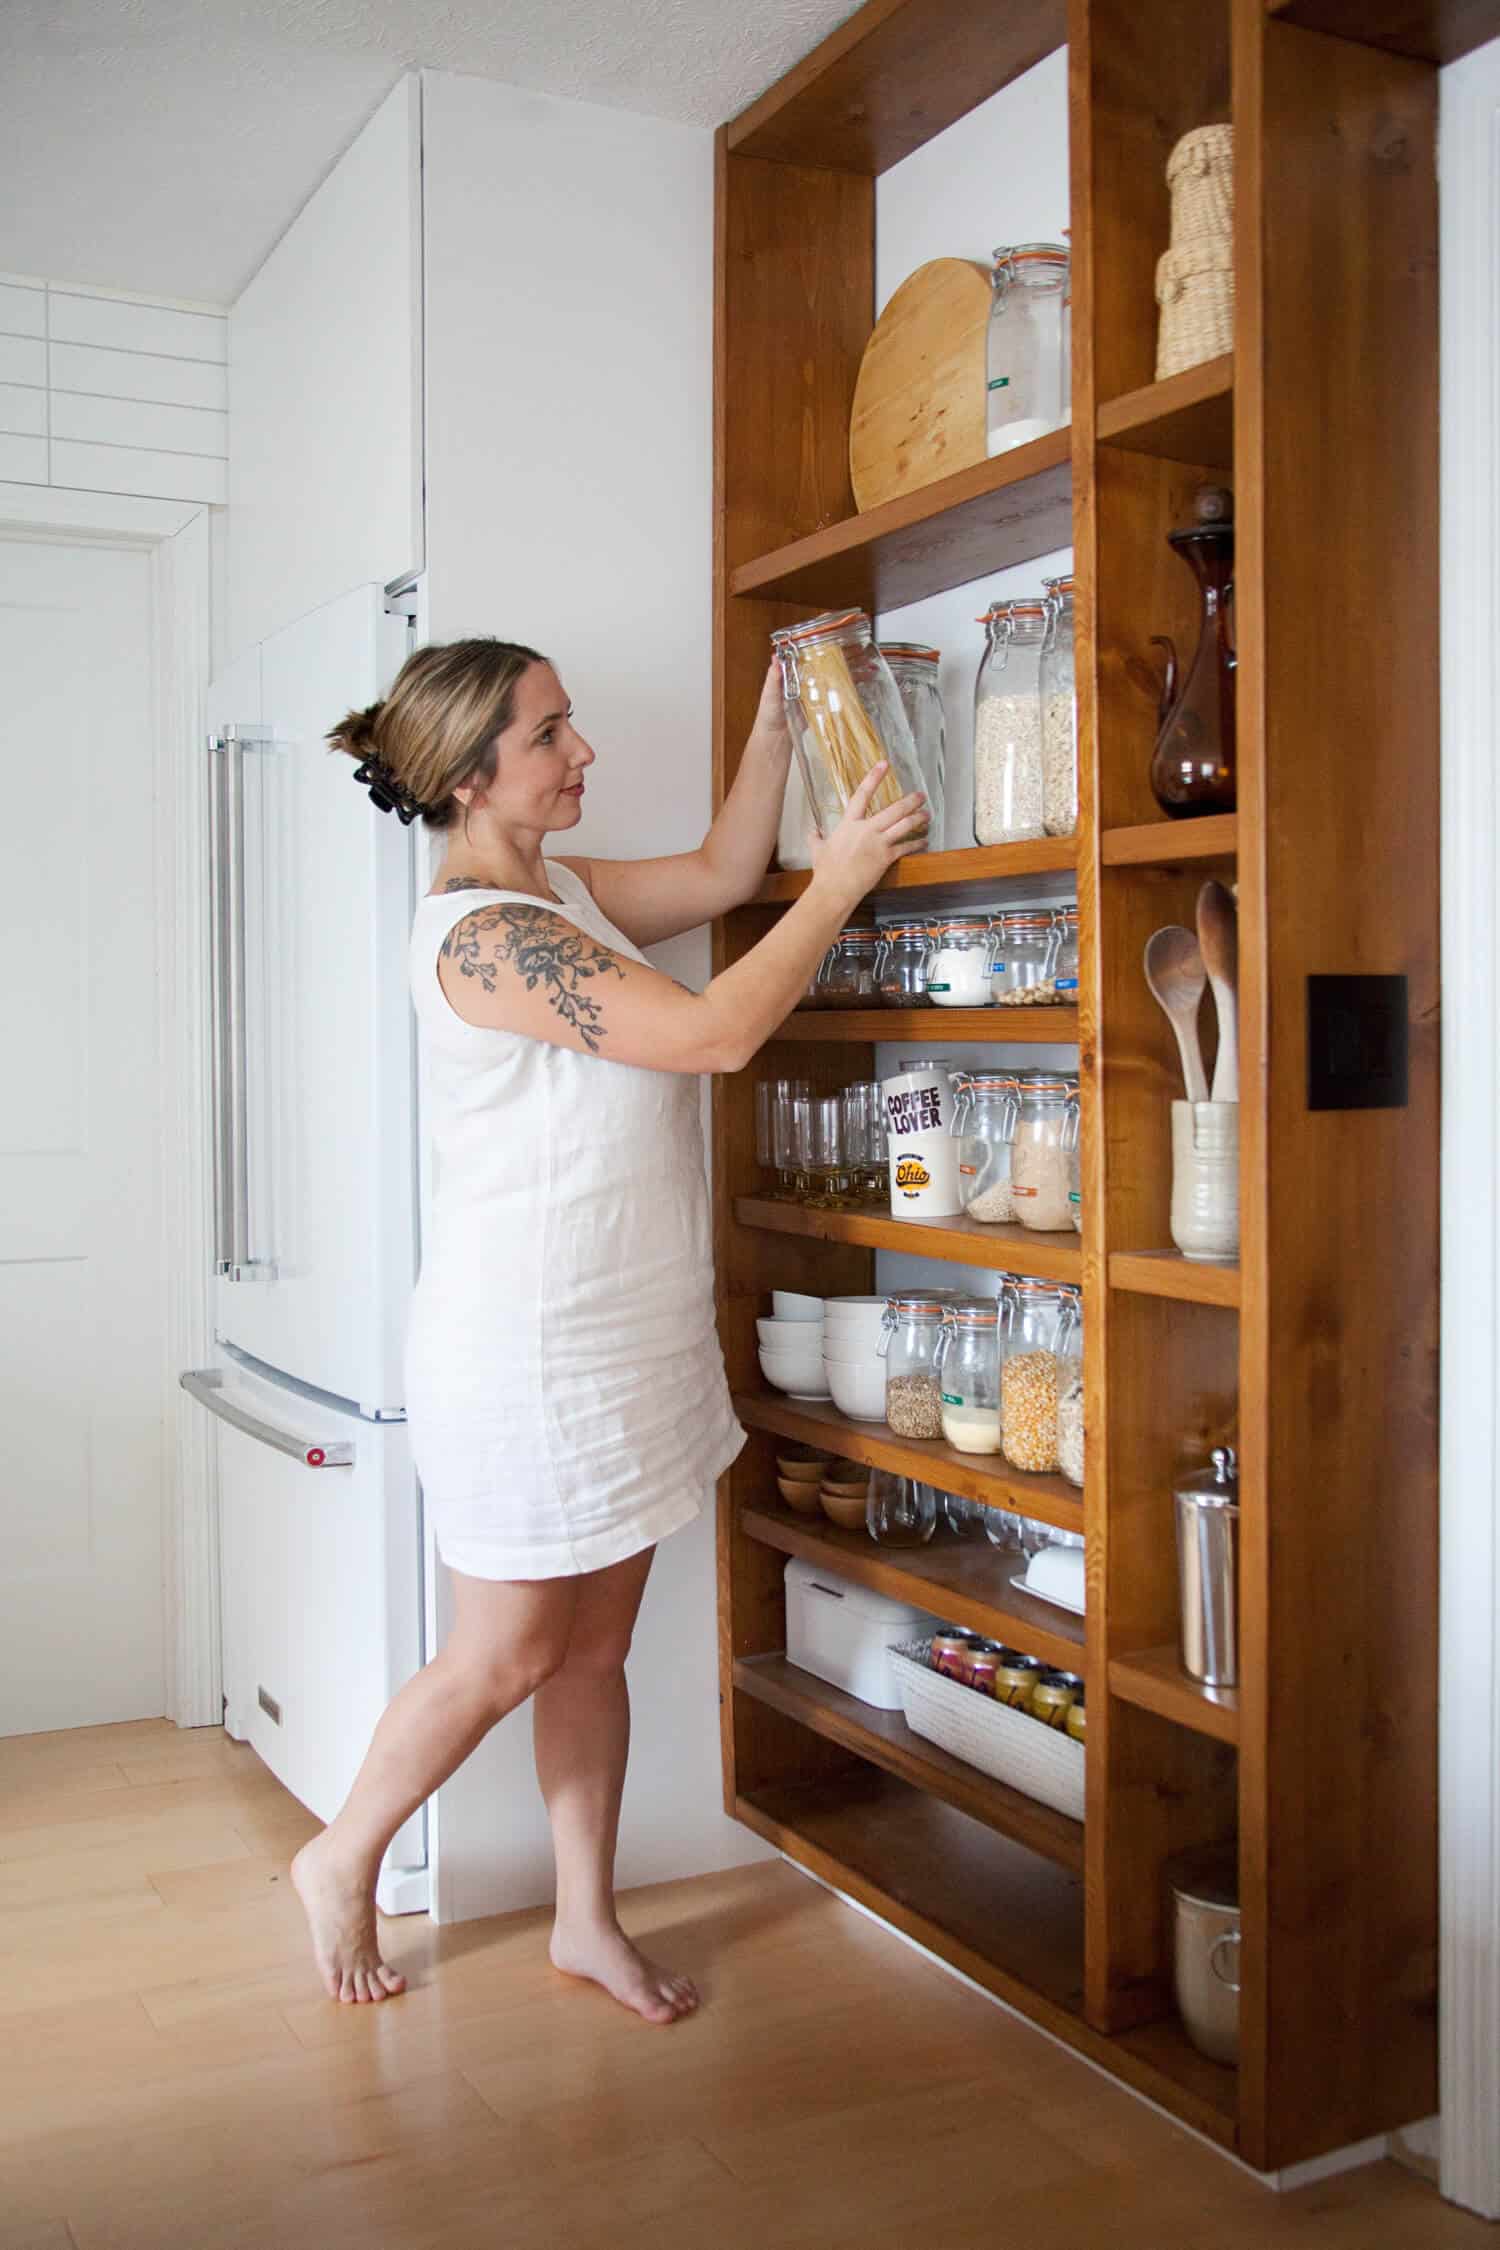 Diy Wood Shelving Wall A Beautiful Mess
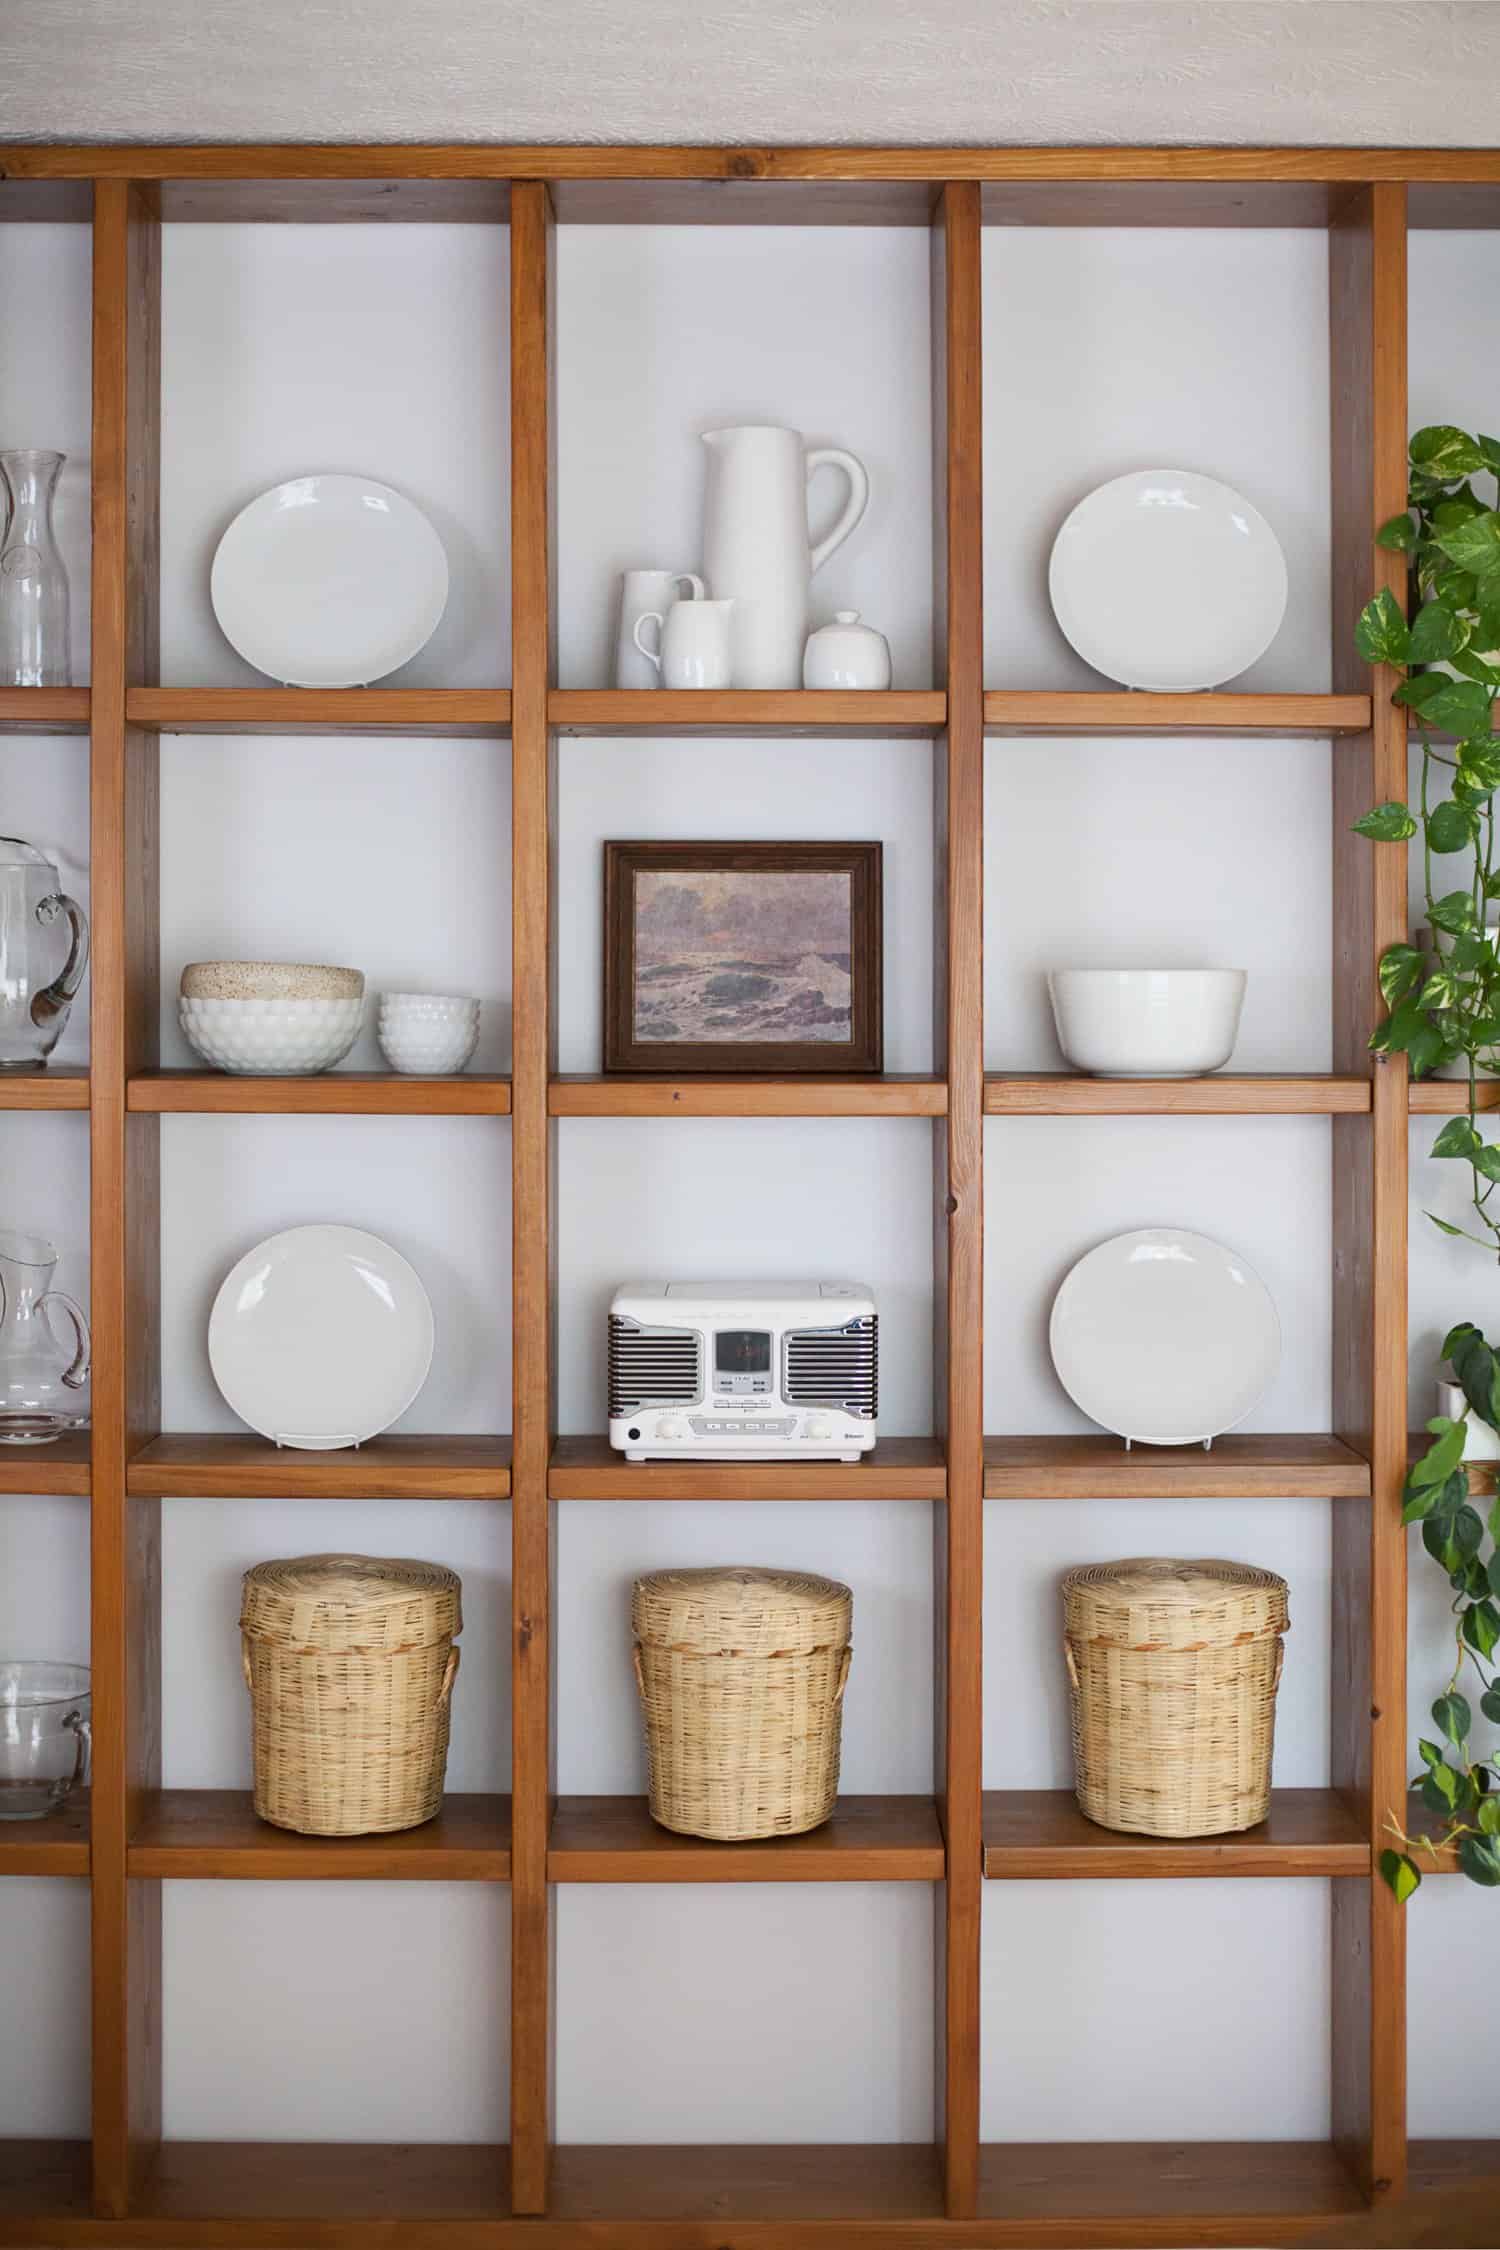 Diy Wood Shelving Wall A Beautiful Mess
 Diy Wood Shelving Wall A Beautiful Mess
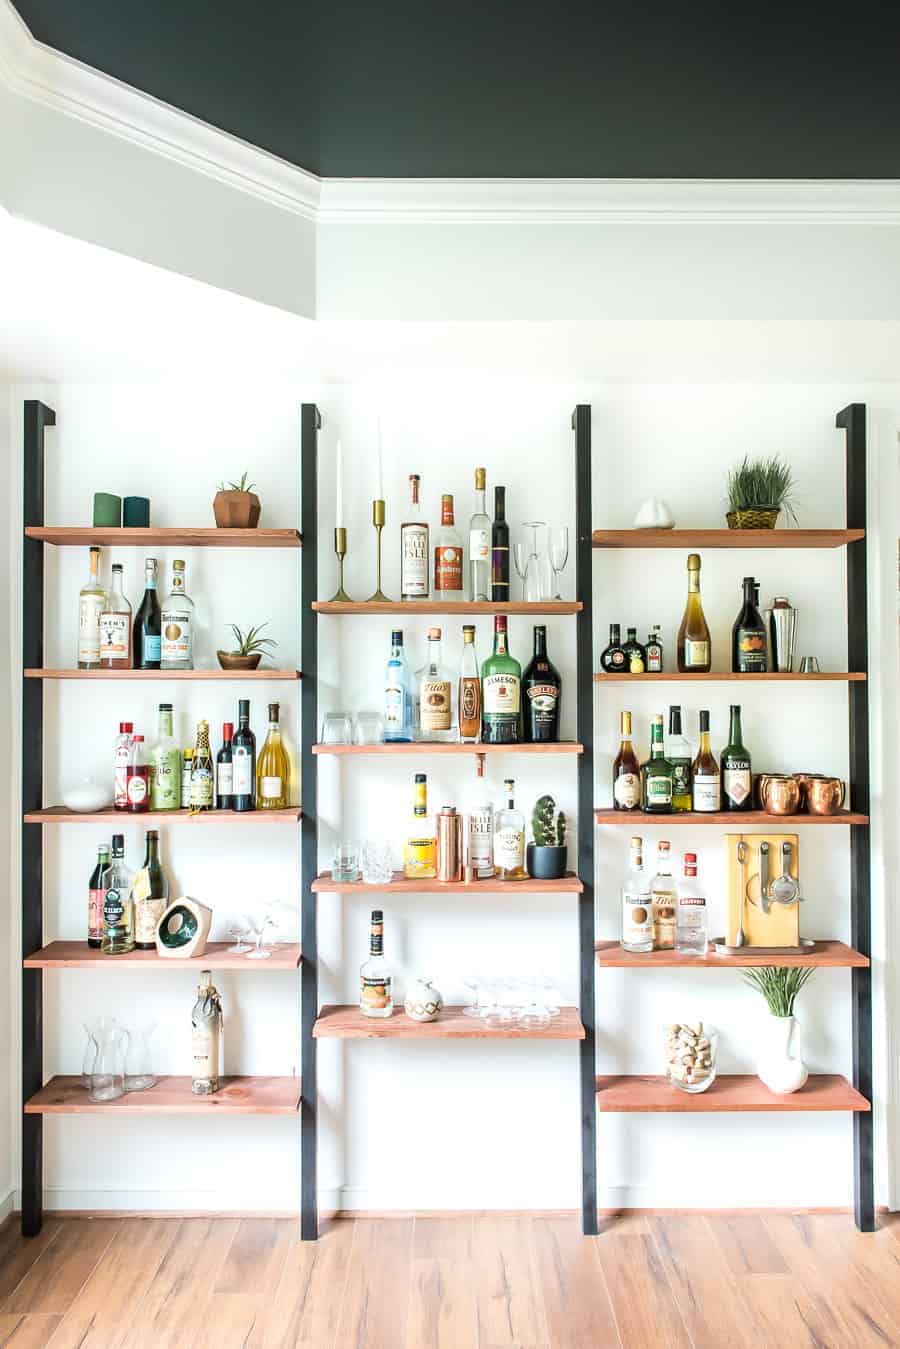 One Room Challenge Week 4 Diy Wall Shelving Bar Wall Place Of My Taste
 14 Unique Diy Shelving Ideas How To Make And Build Shelves
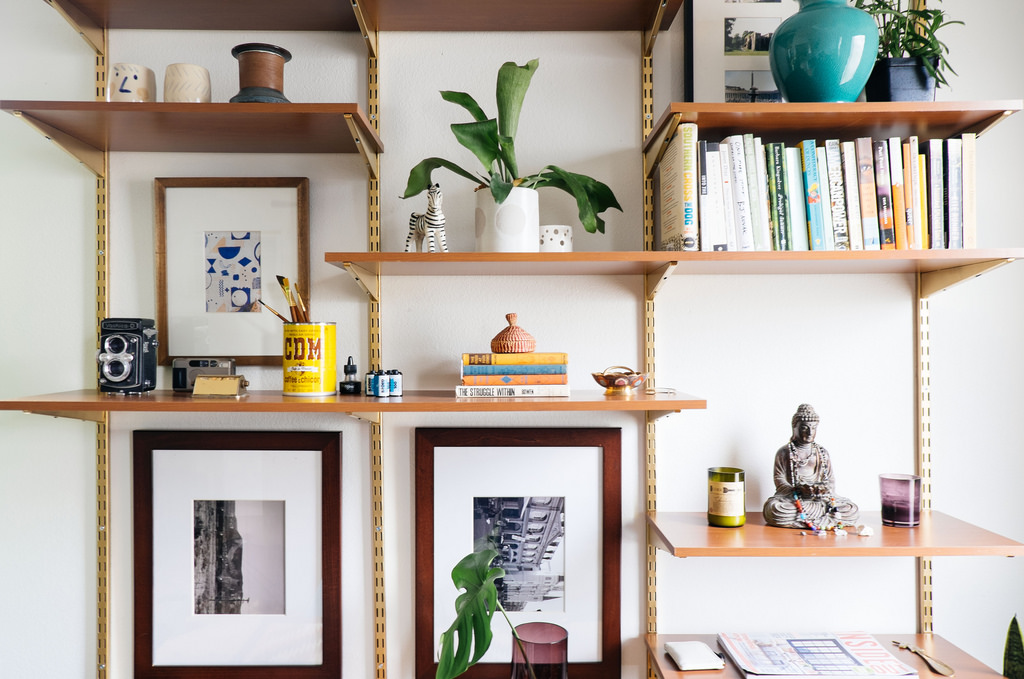
 Diy Wall Mounted Shelving Systems Roundup Apartment Therapy
Comments
Post a Comment